In This Article
A few weeks ago, the bathtub faucet in my bathroom started leaking, and at first I didn’t think it was a big deal. But the leak continued for days, and I realized I was wasting quite a bit of water. After putting it off for a while, I finally decided to call a plumber to get it fixed.
The plumber gave me a price that honestly felt too high for what seemed like a simple faucet replacement. I started thinking, why not try doing it myself instead of spending that much money? So, I did some research, got the right tools, and decided to give it a try.
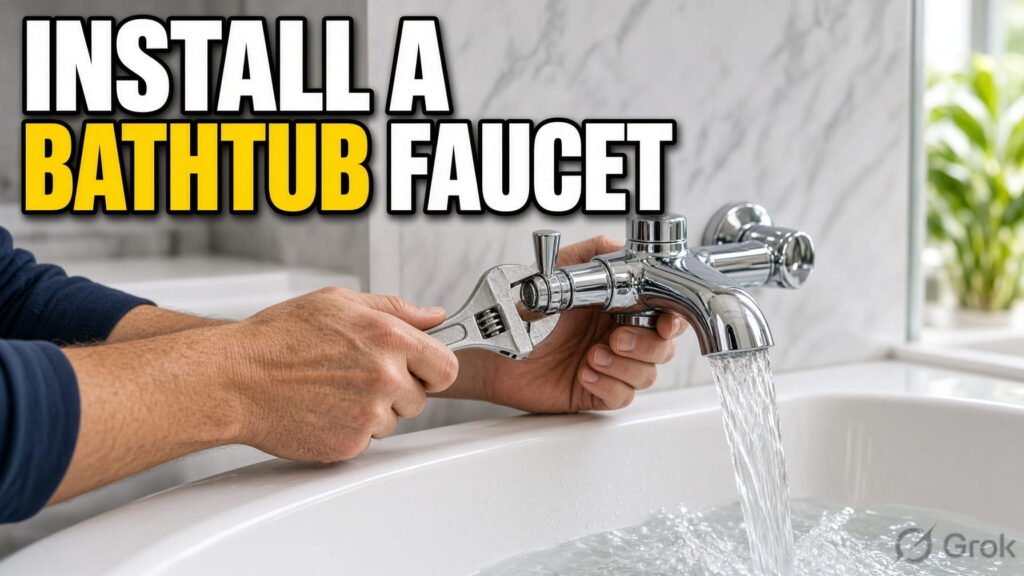
If you’re dealing with the same problem or your old bathtub faucet has started leaking, you may be able to replace it yourself too. In this guide, I’ll show you how to install a bathtub faucet step by step and what you should know before getting started.
What You’ll Need
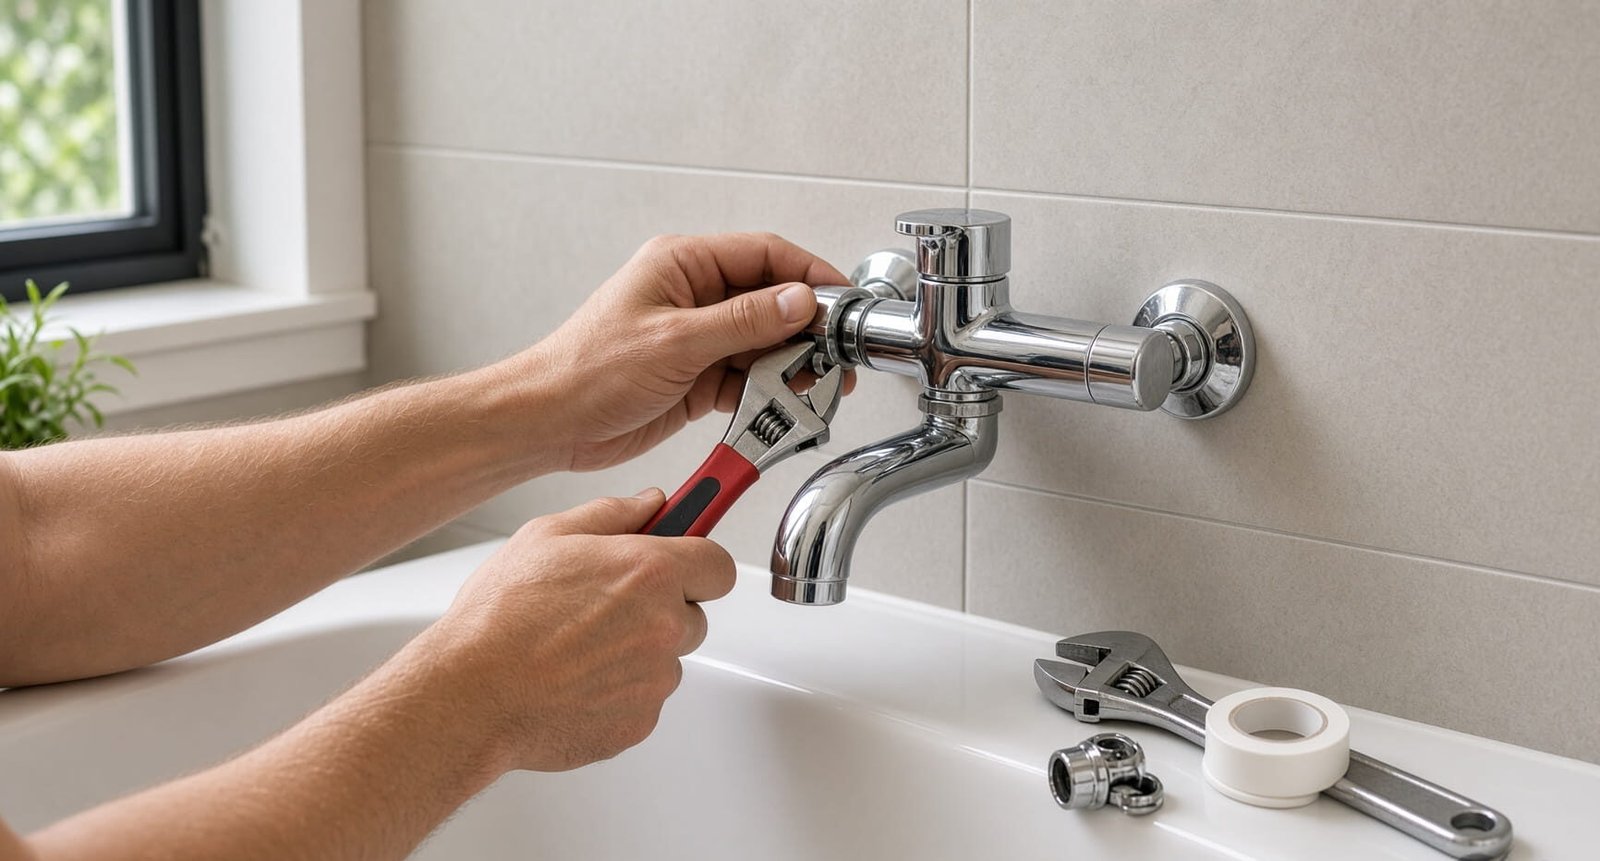
Before starting, make sure you have these basic tools and materials:
- New bathtub faucet
- Adjustable wrench
- Allen wrench
- Screwdriver
- Plumber’s tape (PTFE tape)
- Clean cloth
- Flashlight
- Plumber’s thread sealant, if recommended by the manufacturer
Having everything ready before you start can save you from making multiple trips to the hardware store halfway through the job.
Turn Off the Water Supply
Before removing anything, turn off the water supply to the bathtub. If your bathroom has individual shutoff valves, close them. Otherwise, you may need to turn off the home’s main water supply.
Turn the faucet on after shutting off the water to release any pressure left in the pipes.
This is a small step, but don’t skip it. I made sure to do this first because dealing with a faucet while water is still flowing is the last thing you want.
Remove the Old Bathtub Faucet
Take a look underneath the faucet. If you see a small set screw, loosen it with an Allen wrench. Once the screw is loose, you should be able to pull the faucet away from the wall.
If there is no set screw, your faucet may be a threaded model. In that case, carefully turn it counterclockwise with an adjustable wrench.
Don’t force it if it feels stuck. Excessive force can damage the plumbing connection behind the wall, which can turn a simple faucet replacement into a much bigger repair.
Prepare the Pipe
After removing the old faucet, clean the exposed pipe and remove any old plumber’s tape, dirt, or buildup.
Take a moment to inspect the threads. They should be clean and undamaged. If the threads are badly damaged or the pipe itself is loose, it’s better to stop and have a plumber check it.
For a threaded connection, wrap fresh plumber’s tape around the threads in the direction the new faucet will tighten. A few wraps are generally enough.
Install the New Bathtub Faucet
Now carefully thread the new faucet onto the pipe by hand.
Starting by hand is important because it helps prevent cross-threading. Once it is hand-tight, use your wrench to tighten it carefully.
Don’t overtighten the faucet. I was tempted to keep tightening mine because I wanted to make sure there was absolutely no leak, but too much force can damage the faucet or the plumbing connection.
If your faucet uses a set screw instead of threads, slide it onto the pipe and tighten the screw underneath according to the manufacturer’s instructions.
Turn the Water Back On
Once the faucet is installed, slowly turn the water supply back on.
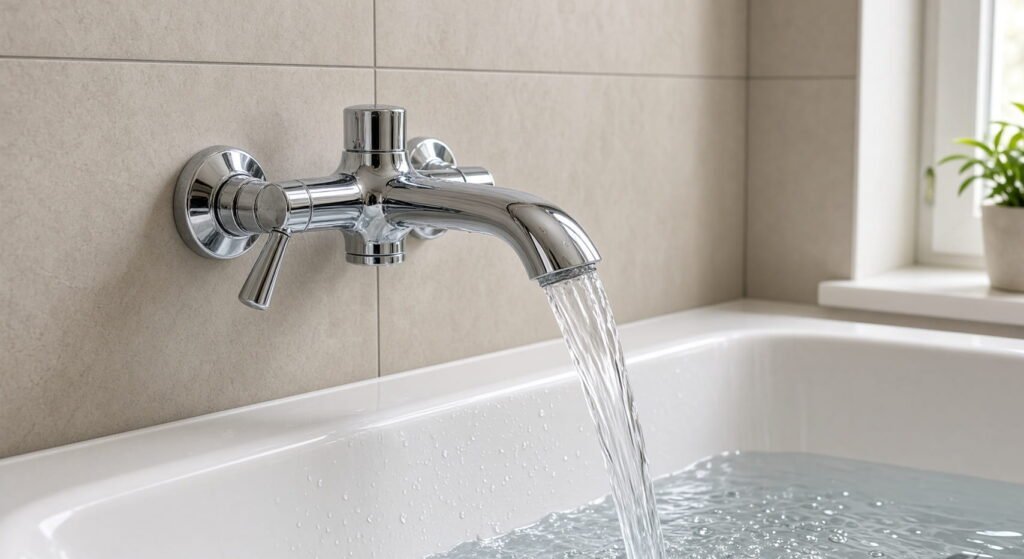
Run the bathtub faucet and carefully inspect the connection for leaks. Check around the faucet and the area where it connects to the pipe.
If you notice water dripping, turn the water off and check the connection again. Don’t simply keep tightening the faucet harder.
Once everything stays dry, run the water for another minute or two just to make sure the connection is secure.
When Should You Call a Plumber?
Not every bathtub faucet problem is a good DIY project. If you notice any of the following, it’s safer to get professional help:
- The pipe inside the wall is moving.
- You find water leaking behind the wall.
- The plumbing connection is badly corroded.
- The existing pipe is damaged.
- Your new faucet doesn’t fit the existing plumbing.
- The installation requires changing pipes inside the wall.
A faucet replacement is one thing, but plumbing inside the wall can become a much more complicated job.
Final Thoughts
Replacing my bathtub faucet turned out to be much easier than I originally expected. The plumber’s quote was what pushed me to try it myself, and after doing some research and taking my time, I was able to handle the replacement without making the job complicated.
If your bathtub faucet is old, leaking, or simply needs an upgrade, you may be able to do the same. Just make sure you buy a compatible faucet, turn off the water before starting, and always check carefully for leaks when you’re finished.
And if you discover a plumbing problem behind the wall, don’t try to force it just to save a few dollars. Sometimes calling a professional is the smarter choice.
FAQ
Q1. Can I install a bathtub faucet myself?
Yes. Many standard screw-on and set-screw bathtub faucets can be installed as a DIY project when the existing plumbing is in good condition.
Q2. Do I need plumber’s tape to install a bathtub faucet?
Plumber’s tape is commonly used on threaded connections to help create a watertight seal. Always check the installation instructions for your specific faucet.
Q3. How long does it take to install a bathtub faucet?
A simple faucet replacement can often take around 30 minutes to an hour, depending on the faucet style and condition of the existing plumbing.
Recent Articles
5 Best Toilet Papers for Home in 2026
How to Unclog a Sink Fast Without Chemicals (Works in Minutes!)
5 Best Laundry Room Ideas for a Small Space